Sunday, November 21, 2010

Chili & Sun Dried Tomato Corn Muffins!


Good Evening! How has your weekend been? I hope you were able to do everything you wanted this weekend. I made some good progress and was able to get all of my shopping done, including getting the turkey...YA! It has been cold and rainy here all weekend - I love it! It has really put me in the mood for the Holidays. I knew today would be hectic and I didn't want to have to think too much about dinner tonight so I decided it would be a perfect day for crock pot chili. This recipe can be made in a regular pot if you do not own or use a crock pot, but I love being able to start this in the morning and know dinner will be ready and waiting for us. I made this particular batch of chili really spicy, but all you need to do to make it less spicy (if you are not a spice person) is to use the seasoning packet that is mild or regular. I use the HOT! I love spicy food and of course I love my chili to be hot! I paired this with a sun dried tomato corn muffin. I got the recipe from Giada off of food network. These are tasty! I ended up popping it on top of the chili and decided it was a good pair. I personally like a little sour cream in my chili, but you can top your chili with whatever you want. Red onion, shredded cheese, sour cream...these are all very good and suitable toppings depending on your preferences. Oh and in case you are wondering why in the world I would use a seasoning pack instead of just seasonings, well it's quick and convenient and I love the flavor it gives.

Chili -
1 can of black beans
2 cans of chili beans
1 can of pinto beans - drained
1 can of kidney beans - drained
1 small can of tomato sauce
1 can of diced tomatoes
1 packet of McCormick's chili seasoning - Regular, Mild, or Hot
1/2 tsp. garlic powder
1/2 tsp. onion powder
1/2 tsp. cumin
1 lb. of organic beef or you can use lean ground turkey
3-4 cloves of garlic - chopped and minced
1 onion - diced

Add all of the ingredients - except for the meat, the onion, and the garlic- into the crock pot and turn to low. Add a little bit of extra virgin olive oil in a pan and turn the heat on to medium. Add in your diced onion and let saute a minute or two and add your meat. Allow the meat to cook for a bit and start to brown and add in the garlic. Just be sure to stir often so that your garlic doesn't burn. Allow your meat to brown and cook for about 10-12 minutes or so. You just want the meat to cook through. Pour that into the crock pot and stir. Keep it set on low and leave it to do its thing! You can turn it on high for an hour or two before you are ready to eat, but this is not necessary.


For the sun dried tomato corn muffin - recipe from Giada
2 boxes of Jiffy Corn muffin mix
2 cups of corn (1 can)
3 cloves of garlic
2/3 cup diced sun-dried tomatoes (from an 8-ounce jar)
2/3 cup buttermilk
2/3 cup of low fat sour cream
2 eggs

Preheat the oven to 375 degrees F. Grease 2 muffin tins. ( or you can use the muffin liners if you prefer but they do tend to stick a little to the paper)In a large bowl combine the muffin mix, corn, garlic, and sun-dried tomatoes. Stir to combine. In a small bowl whisk together the buttermilk, sour cream, and eggs until well blended. Add the buttermilk mixture to the muffin mix. Stir to combine. Spoon the mix into the muffin tins, filling up the cups about halfway. Bake until golden brown on top, about 15 minutes.


Saturday, November 20, 2010

More Left Over Pumpkin Ideas & A Quick Dinner Idea!


Hello my foodie friends! How has your Saturday been? I hope fantastic and productive. I have gotten a lot done today and for that I am grateful! I can't believe how packed the stores were today. I guess everyone decided to shop early for Thanksgiving day rather than waiting until the day before.

I saw a recipe for Sweet Potato Biscuits here. I have been thinking about this recipe every since. So this evening I made a quick batch only I tweaked the recipe a bit to use up the left over opened pumpkin. I made some changes and they turned out good. I love that these are like a biscuit. I think these would be delicious with sweet potato so I am gonna hang on to this recipe and try it again with the sweet potato rather than the pumpkin. I had a little bit of pumpkin butter on mine and so did the kids and it was really tasty! You could even put jelly on these for a nice little morning treat! These were mixed up and baked in about 20 minutes and I came out with about 12 biscuits.

So here is the low down:
1/2 cup almond milk * I used the unsweetened vanilla at only 40 calories a cup. You could use regular milk here too
1 cup pumpkin
1 1/2 cup whole wheat flour * I used whole wheat pastry flour
3 1/4 tsp. baking powder
1/2 t salt
3 packets of stevia * these biscuits are not too sweet so if you prefer sweeter biscuits you may want to add 1-2 more packets
1 tablespoon of butter

Preheat oven to 375. In a bowl add flour, salt, baking powder (make sure this is aluminum free baking powder- I feel this is a healthier option) stevia and mix well. Add the butter in small little bits to the flour mixture and crumble together with your fingers working the butter into the flour mixture. Next add the pumpkin and milk and stir together. I covered the counter with saran wrap and poured the flour mixture onto the counter. Roll the mixture out and cut your biscuits out with a biscuit cutter (or a glass will work beautiful too). The thicker the easier it is to work with. If you need to, cut your first round of biscuits out and pull all the bits back together again and re-press it down and cut again. This will allow you to get more out of your mixture. Bake for 10 - 11 minutes (mine took 11 minutes) until the biscuits are golden and ready! These would be great with butter, honey, jam, apple butter or pumpkin butter as I prefer! Quick and tasty!

I also wanted to share with you what I made for dinner. I rarely have a night where I can just cook something up for myself, but tonight I had that chance. My husband was having dinner with the fellas (they are watching UFC tonight) the kids had already eaten earlier. By the time I got home from shopping I was really hungry. I popped a regular Naan (from Trader Joe's found in the freezer section right by the garlic Naan)out of the freezer and began to build. Next spread on some enchilada sauce and top with refried black beans (or regular refried beans - but I love the refried spicy black beans)tomatoes and red bell pepper and a light coating of shredded cheese. The great thing is that a little shredded cheese goes such a long way! Bake at 400 for about 8-10 minutes. Top with low fat sour cream and a few dashes of hot sauce! This rings Taco Bells bell! It reminds me of their Mexican Pizza only healthier and far better for you!


Friday, November 19, 2010

TGIF! Healthy Superfood HeartBalls!


TGIF! How are you? I know everyone is looking forward to the holiday next week. What are your weekend plans? I have a lot of grocery shopping and cleaning this weekend to do. This year Thanksgiving will be at my house. I am excited to finally have the chance to host Thanksgiving dinner at my house. The dining room is nearly finished and ready. I am really excited this year!

I am really happy to share this recipe with you. I wanted to give you a super healthy and delicious snack recipe. This idea is based on the larabar! A raw blend of nuts and dates. If you love almond joys or mounds bars this is for you! Only these have no added sugar or artificial ingredients - and the biggest benefit (aside from the amazing taste) is the benefits these ingredients have for your heart and body.

The star of this show is the Cacao Bliss! This amazing little jar of wonderfulness is A.M.A.Z.I.N.G!
It is a little costly, but I have had this jar for months and I only use a little amount here and there so I find it lasts and lasts and is worth every penny. I ordered mine online along with Coconut Butter. Some (and these are just a few) of the listed health benefits of raw Cacao include: high in magnesium, rich in flavanoids with antioxidant properties that are beneficial to the heart, helps to maintain healthy hair and skin, and can help with healthy aging. I don't over indulge, but when I want something sweet or a chocolaty kind of treat I make these up and will eat one after lunch or dinner and it totally satisfies my chocolate craving and leaves me feeling energized. These little balls are like little energy balls! You can form these into bars also, but I prefer just a little bit at a time - I find it just enough! Oh and don't even get me started on the health benefits of nuts! :-}

So for this recipe you only need 3 ingredients.
You can double this recipe if you want just be sure to keep these wrapped up and in the fridge. I find they stay good for about 4 or 5 days with no problems. This recipe as is yields about 7 balls.

About 17 Whole Pitted Dates - rough chopped ends up to be about 1 cup
1/3 cup whole cashews
1 tablespoon of Cacao Bliss

Start by laying out 2 pieces of saran wrap on the counter. Next add your roughly chopped dates and whole cashews into your food processor.
Pulse off and on until everything is nice and chopped. Add in your tablespoon of Cacao and pulse again for a few seconds. The Cacoa adds a nice moistness to your batter allowing it to all come together. Carefully dump your mixture onto the saran wrap and work it together with your hands allowing it to all come together.

Now you will just grab a little bit at a time and form into balls. You can make these any size you like, but I come out with about 7.

You may only see 6 here -- oops one accidentally fell in my mouth...

Just wrap these little babies up in the saran wrap and store in the fridge. OK, I am off. I hope you all have a wonderful Friday!

Thursday, November 18, 2010

A "Whole" Lot Of Good Stuff!


Hello and Happy Thursday! Yes, my days are straight today and I am fully aware that today is Thursday :-) My post today is two (maybe three) fold. I have the intent of sharing a few recipes with you, but I also wanted to talk to you about the importance of eating whole foods (hopefully on a daily basis). One part of that is trying to eat veggies that are not necessarily cooked to death - literally! Now, I don't get as much raw veggies in my diet as I would like to, but I do try. I think that action means a lot more than just thoughts when it comes to your health. Sometimes it is the little actions that can lead to big changes. I love the 80/20 rule. Balance can be everything!

I want to introduce you to my Vita-Mix! She is a beauty! I saved up for her for almost a year and I am so glad that I did. It is one of the best purchases (I bought mine at Costco) I have ever made. The thing that I love about my Vita-Mix is that with ease I can make any veggie into liquid. The Vita-Mix also cooks soups without really having to "cook" out the vitamins. It just uses the speed of the motor and it generates heat that slowly cooks. I use my Vita-Mix for ice cold smoothies that are packed with organic spinach that liquefies to perfection, Or I can just as easily use it to make delicious soups. No need for an extra pan, just throw all of my whole veggies in with whatever I want and it will chop, puree, and cook all at once! I am telling you this is one of my favorite appliances ever - I can't see myself without one now. If you do not have a Vita-Mix (you gotta get one) you can still make these recipes you can use a regular blender or hand blender and can just heat the soup through in a pan on light heat. The Vita-Mix will literally make the veggies into a smooth silky consistency though and unless you have a really good blender or immersion blender the soup may come out a little chunky and with a different consistency - should still taste good and will still be good for you though - so no worries!

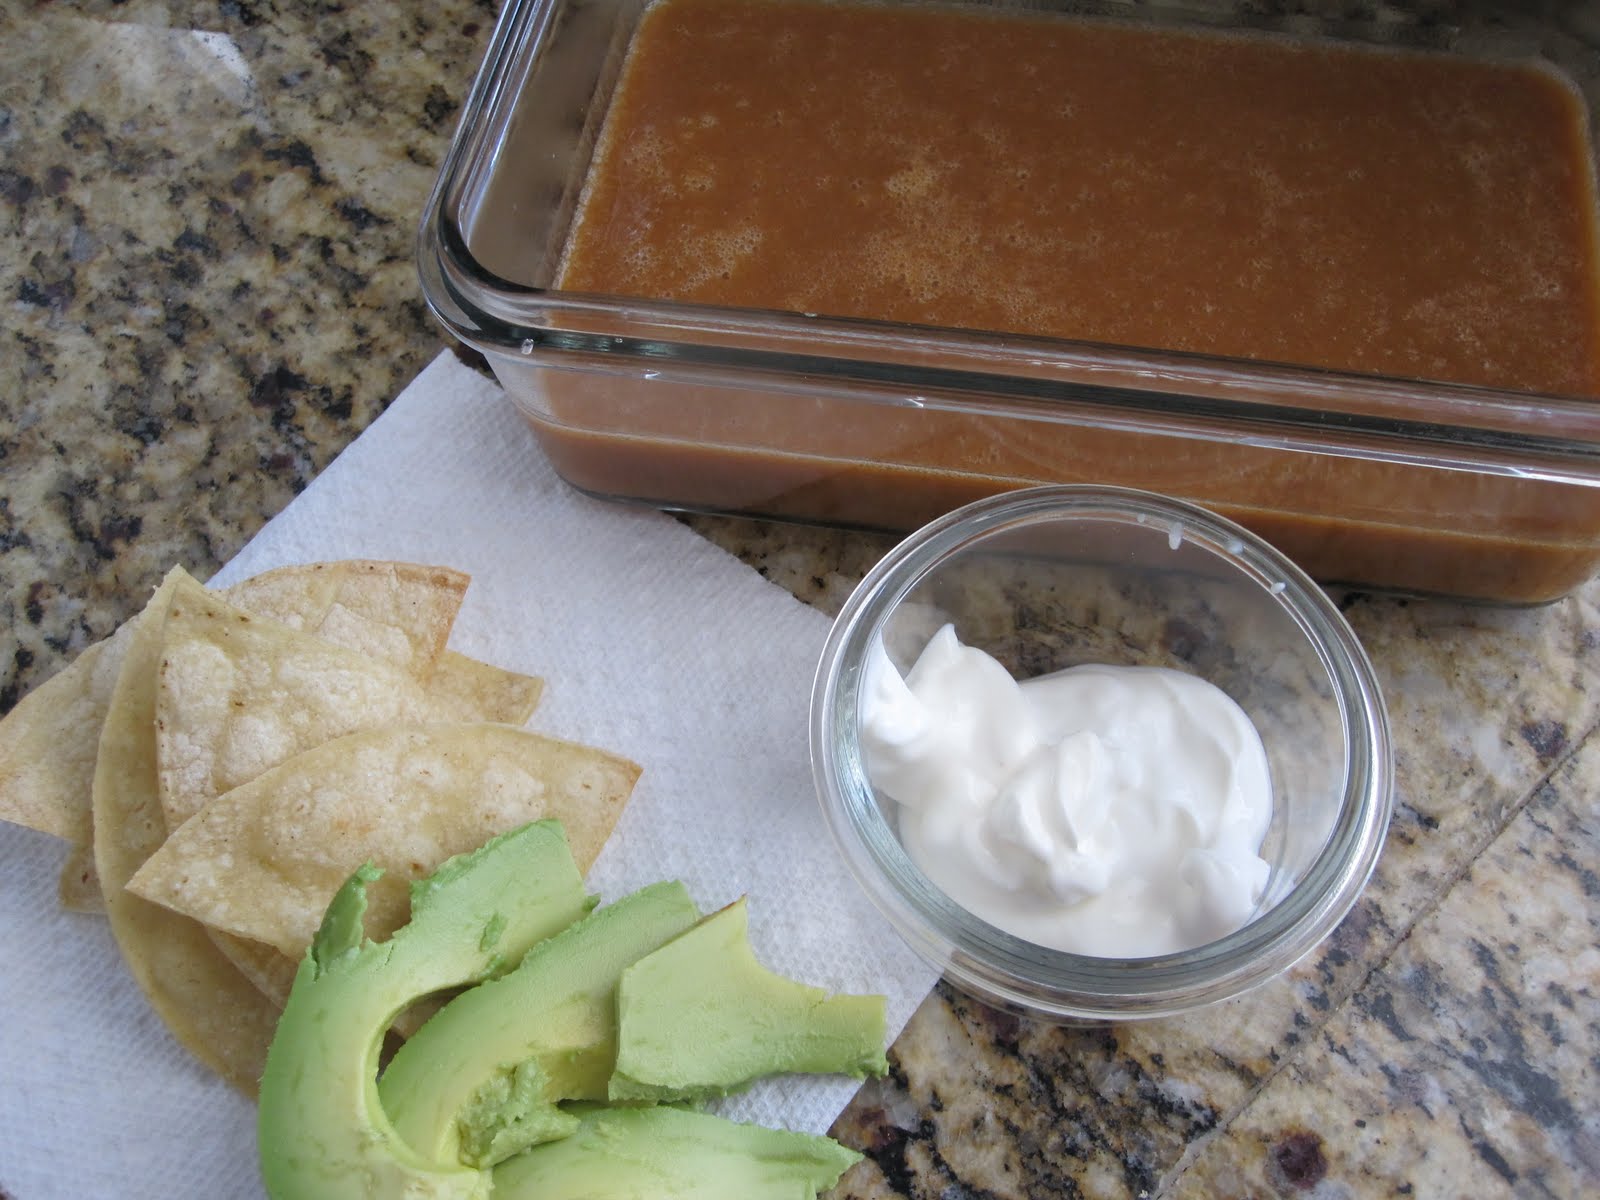
OK, so now I will just get back to the recipes! For the tortilla soup I made some tortilla chips by slicing corn tortillas and baking in the oven. This makes a great topping for the soup and also a great side to eat the salsa with. If you don't want to make your own tortilla chips you can buy organic tortilla chips or baked tortillas available at the grocery store. I just love to bake my own. The soup is taken from good to really good by adding a few tortilla chips, a dollop of low fat sour cream and a few slices of avocado. You can also have a few chips and salsa on the side. Filling lunch or dinner!

For the tortilla chips:
Preheat your oven to 375.
Cut as many tortillas as you would like. This is how I like to slice mine. Usually 4-5 tortillas at a time.

Next you will want to lay your tortillas out evenly and not on top of each other. Lightly spray the top of the tortillas with olive oil Pam. Stick in the oven for 8-10(cooking times will vary depending on your oven) minutes and turn over, spray with olive oil cooking spray and bake the other side. Make sure that they are crisp all the way through before pulling out.
Lightly salt as soon as you pull them out of the oven. That's it! They are ready.


Now we will talk Salsa!

I have several different salsa recipes. I used this one today.

What you need to make this salsa is:
1 14.5 oz. can of Stewed tomatoes Mexican style
1 Lime
1 Jalapeno - sliced down the middle and seeds removed
1/2 white onion
1/2 red onion *OR you can use just one whole onion of either kind*
1 clove of garlic
1/2 tsp. hot sauce
1/2 tsp cumin
1/2 tsp. red pepper flakes
1/2 tsp. sea salt and pepper
1/2 tsp. oregano
1 handful of cilantro
1 14 oz. can of diced green chili
A dash of extra salt to add after you combine all the ingredients

Add everything in to a food processor - including the juice of one lemon or lime - and whirl for about 45 seconds or until everything is combined. Add a dash of salt and cover and put in the fridge for about 1 hour to allow all the flavors to come together.


And last but not least we will talk about the tortilla soup. This is my go to soup recipe. This is a great basic healthy recipe. You can add anything to it: chicken, olives, corn, jalapenos, or whatever else you want. I usually add chicken to mine, but I didn't have any on hand. Lets just say I need to go grocery shopping :-)

Here is what you need for the Tortilla soup recipe:
1 half red bell pepper
1 stalk of celery
2 small or 1 medium carrot
1/2cup of black beans, or refried black or regular refried beans.
4 cups of chicken broth
2 tablespoons diced green chili's ( I used some from the can of green chili's I use for the salsa - that way there is no waste)
dash of cumin
1/2 tsp. Salt and Pepper
1 tablespoon hot sauce
1 garlic clove
A little less than 1/2 onion
1 Roma tomato
1 teaspoon taco seasoning
In the vita-mix you can literally add everything whole and let the mix do the rest!


If you do not have a Vita-Mix just add everything into your blender - in 2 batches if you need to -just be sure you split your broth into 2 so for each batch you have enough to blend. Transfer to a pan and heat through!

Top with a few crushed tortilla chips, low-fat sour cream and avocado!

Wednesday, November 17, 2010

One Minute Migas!


Hi! How are you today? I have had a bad case of one day ahead syndrome all day today. So all day today I thought that it was already Thursday. :-> Geez, I am getting way too ahead of myself this week.

OK, I was going to wait and post this recipe when I make the full version, but I thought it would be nice to just give it to you even if it is the minute version. I mean you may want to make this on the run. This recipe is super quick and easy. I mean it literally takes just a minute or two. I usually like to make this recipe more in depth and add black beans, salsa, bell peppers, onions and a dollop of sour cream; however, today I am just giving you the stripped down minute version. I hope that you will use your imagination and make this recipe your own. It really is a meal fit for any time of the day. Super filling and satisfying. Also, you can increase this recipe for the servings that you would like. I just use 1-2 eggs per person and 1-2 corn tortillas per person.


For 1 small serving:
1 organic egg
1 corn tortilla
1/2 avocado - sliced
about 2 tablespoons of enchilada sauce
*Can top with sour cream and/or salsa


Start with your corn tortilla(s) and spray with olive oil cooking spray and heat your pan to high heat and let the tortilla get crispy. You will want to do both sides of your tortilla.

When the tortilla(s) is nice and crispy cut it into bite sized pieces and add in your enchilada sauce. The pan will be hot and the sauce will sizzle and brown up a bit, but that gives the tortilla(s) such a nice flavor.

Now usually I will scramble my eggs in a pan and add them in, but for the minute version I just cracked one egg in a bowl that has also been sprayed with the olive oil cooking spray and whipped it and put it in the microwave for a minute. Then just remove your tortilla enchilada mixture from the pan and place on your plate and top with your scrambled egg. Place your avocado on top and add hot sauce, salsa, sour cream, etc., whatever your heart desires. That's it! Like I said I almost didn't post this, but figured everyone could use a simple minute meal!I will make the full version of this sometime and post it for you.

Have a wonderful Wednesday (OK, now I am aware that it is Wed. and not Thursday..LOL) afternoon/evening.

Tuesday, November 16, 2010

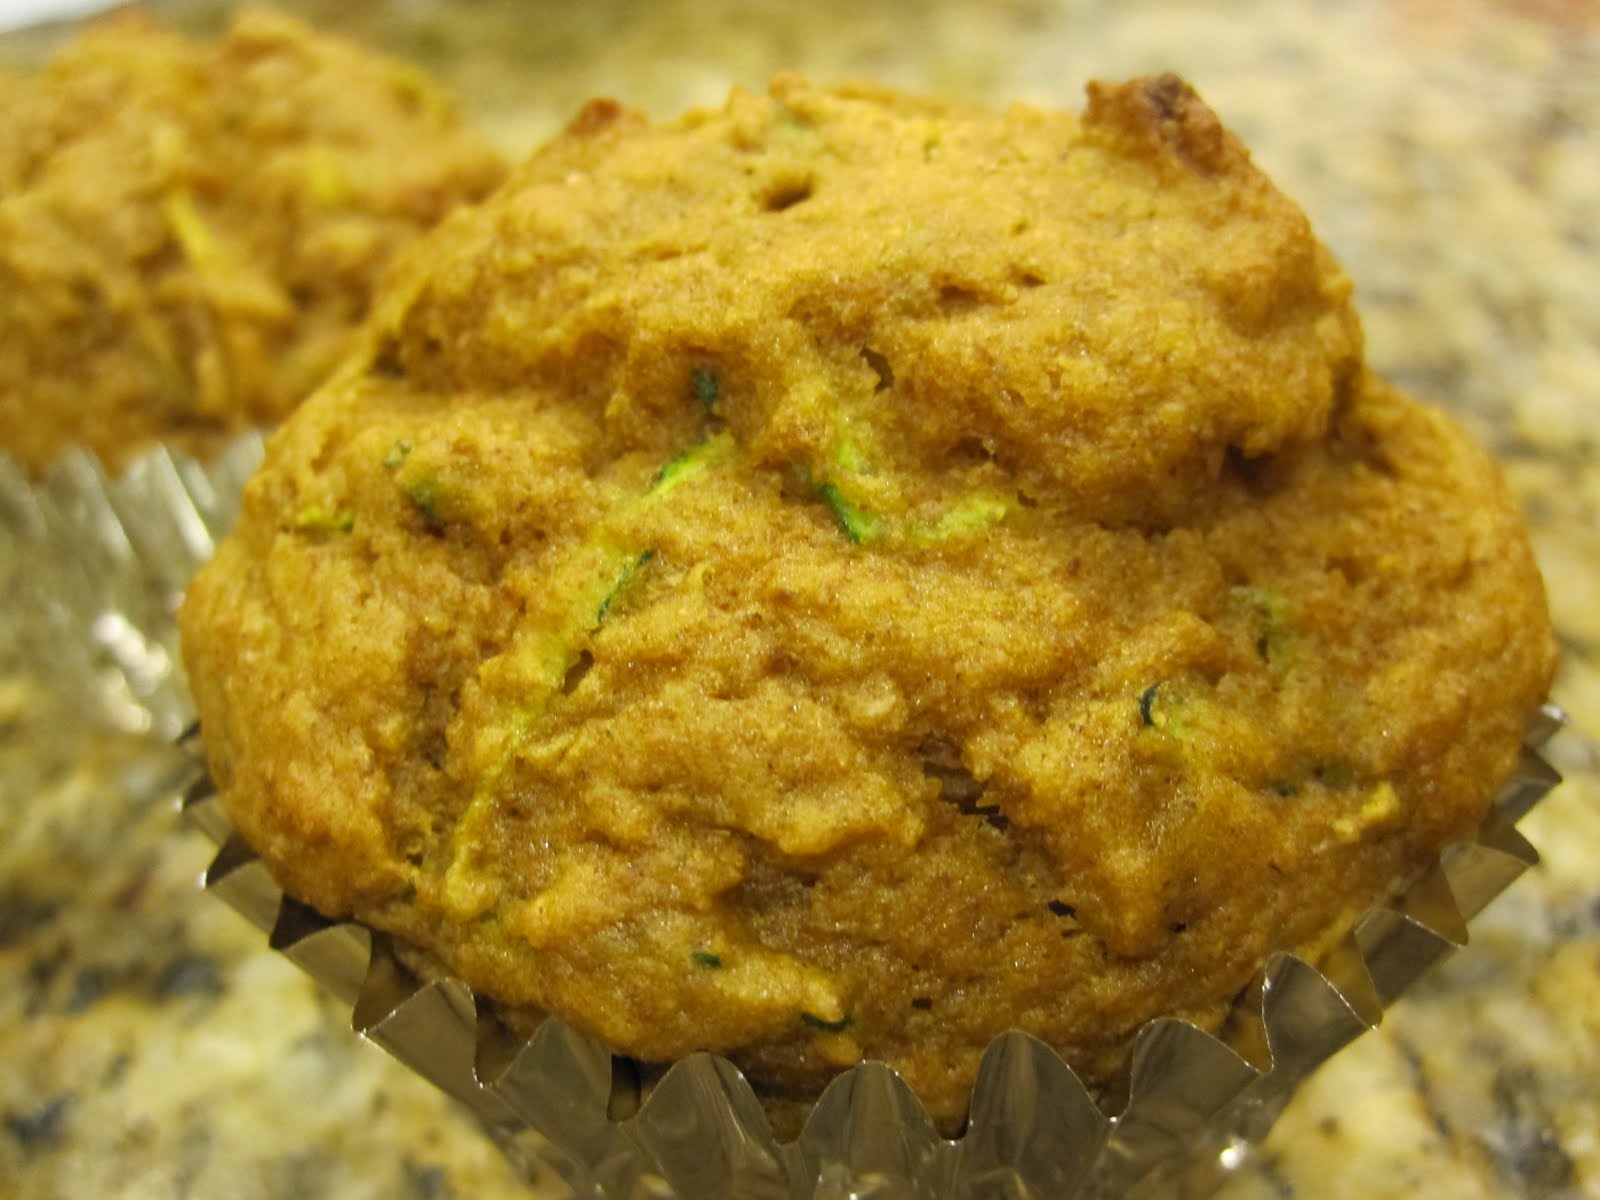
A Muffin Of The Squash Kind! Pumpchini Muffins


This muffin recipe uses canned pumpkin and zucchini. It is so delicious and not too sweet. I was pleased with the way this recipe came out and I love it when I can get by with minimal sugar in any recipe. These came out moist and flavorful. These are not too sweet, but it does have a hint of sweetness that really satisfies your need for a delicious muffin. So, if you find yourself with some leftover pumpkin (let's just say for conversation sake you have leftover pumpkin as I am sure you do not have any intentions of having some leftover) or you are looking for a recipe that calls for pumpkin this is for you.

Makes about 18 muffins
Here is what you will need for my Pumpkini Muffins:
2 small shredded zucchini (equal to about 1 cup)
1 cup pumpkin
2 organic eggs
1 1/2 cup Whole wheat flour
1/2 cup all purpose flour
1/2 teaspoon pumpkin pie spice
1/2 teaspoon ground cinnamon
2 tablespoons brown sugar
3/4 cup organic sugar
1/2 cup lowfat buttermilk
1 teaspoon baking soda
1/2 tsp. salt
1 tsp. vanilla
1/4 cup pure canola oil
1 small container of natural no sugar added applesauce

Preheat oven to 400. In a medium sized bowl combine all of the flour, baking soda, and salt and set aside.

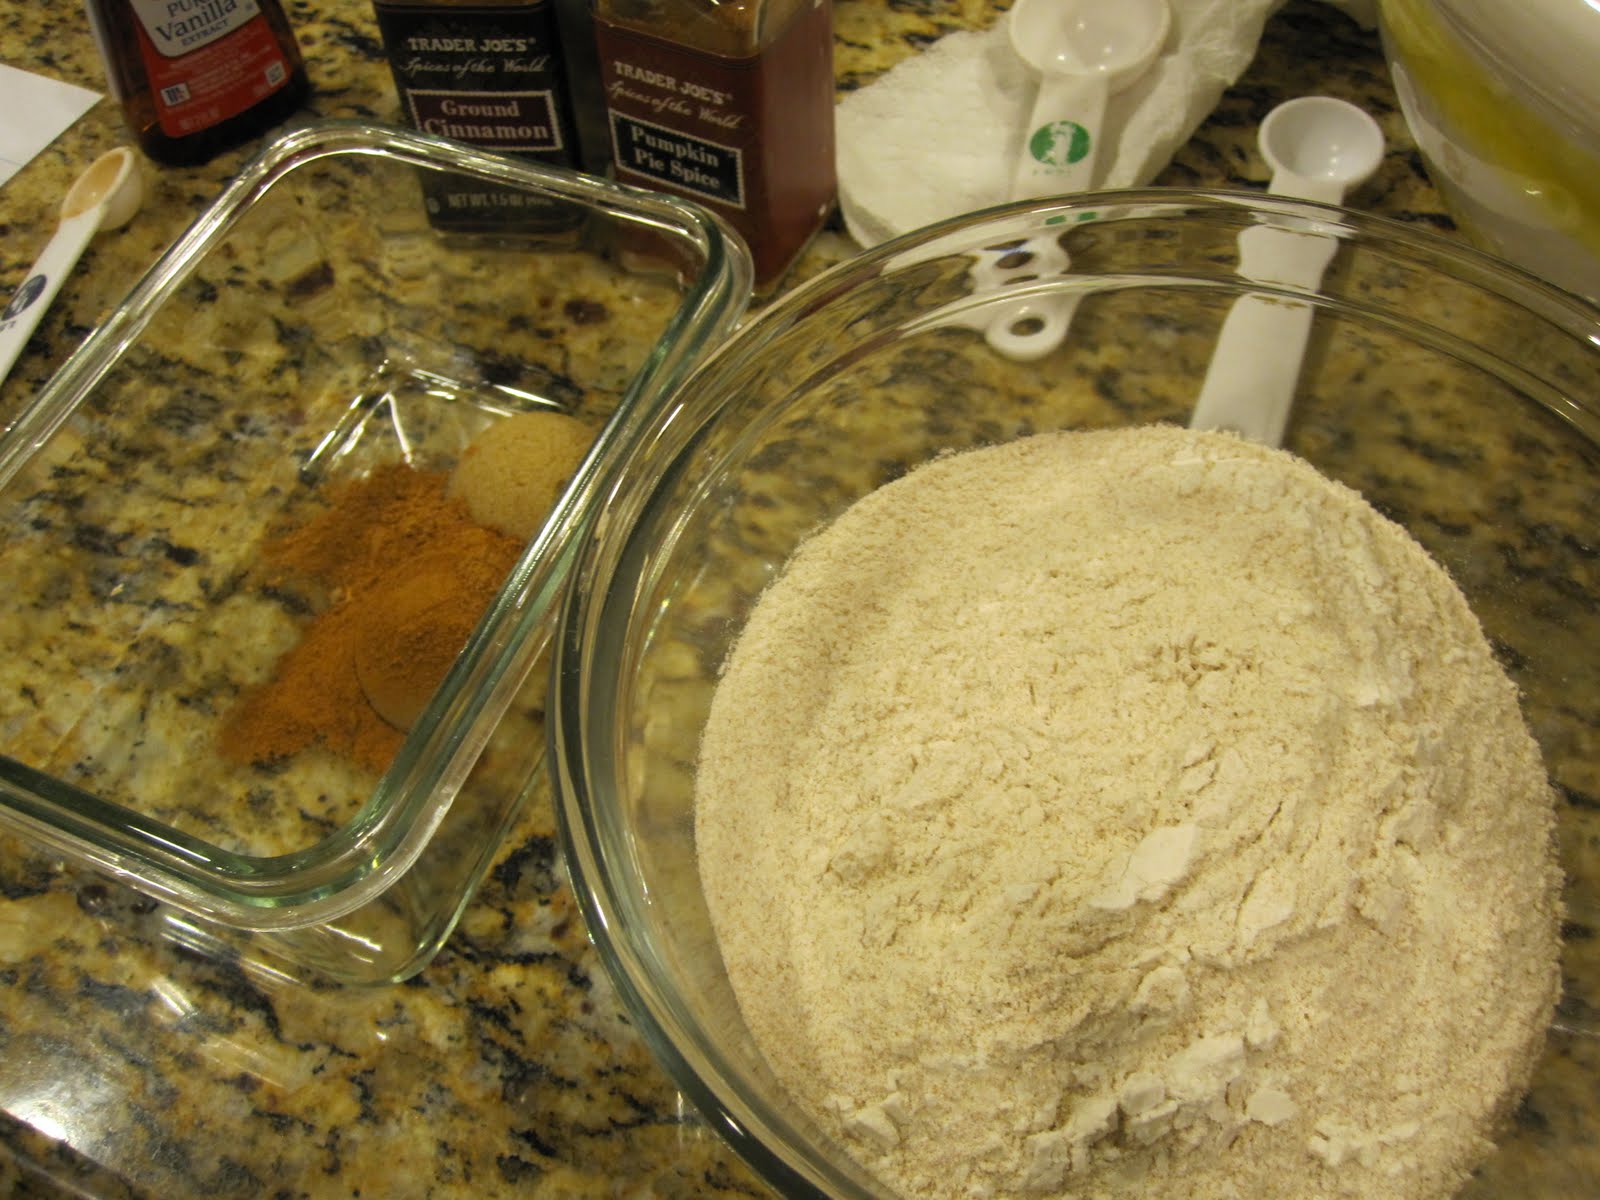
In a large bowl add your sugar, brown sugar, pumpkin pie spice, cinnamon, vanilla, canola oil, applesauce,eggs, pumpkin and shredded zucchini ( I just shred my zucchini with a regular hand held cheese grader) and stir together.

Next you will want to add in the flour mixture to the large bowl but not all at once. Do half of the bowl and add in the 1/2 cup buttermilk and mix well. Then you can add the rest of the flour and mix well. Now your muffin tins are ready to be filled.

You will bake these for 18-20 minutes at 400. You can check these with a toothpick at around 18 minutes.

Cause Sometimes You Need Chinese Food: Sweet N' Sour Chicken


How is your Tuesday? I just get a craving for Chinese food every now and then. Do you? You know it just hits you and you suddenly gotta have some. I modified this recipe a bit to lower the sugar and sodium. I thought it was pretty good and the entire family ate it without any complaints. While I was making this recipe I was worried not knowing if this would turn out. In fact at one point I even thought, "oh well, at least I gave this recipe a try." It was surprisingly good! It's a little messy in the preparation and cooking, but I think you will find it surprisingly good. Don't be too concerned at the way it is looking at any given stage, just go with it. The original recipe is from this site, but I made a few changes to make this lower in calories. I also served this on a bed of jasmine rice. I like the stickiness of this rice when I want Chinese it just gives the dish an authentic taste. You can use brown rice or brown jasmine rice too. I did however just go balls out and I ate the white jasmine rice
:-D

Here is what you need:
3-4 skinless chicken breasts
1/2 cup of vinegar - I used apple cider vinegar
4 tablespoons organic ketchup
1/4 cup organic sugar
1 tablespoon lite soy sauce
1 cup of cornstarch
1 teaspoon onion powder
1 teaspoon garlic powder
Olive Oil cooking spray
Sea salt and pepper
Extra virgin olive oil


Preheat your oven to 325. Cut your chicken into bite sized pieces and add a pinch of sea salt on top of the chicken. Spray with a light coating of olive oil spray and coat in the cornstarch.
Heat a teaspoon of extra virgin olive oil in a large pan and turn the heat on. Allow the pan to heat up a bit.
Add your chicken to the hot pan and allow the chicken to lightly cook. Cook your chicken for about 10 minutes on medium heat and stir often. You may want to add another spray of your olive oil cooking spray about half way through. Don't worry about your chicken cooking all the way through here - we just want it to lightly cook and crisp up a bit. Don't be worried right about now when you look at your chicken you might be nervous and thinking you have made a terrible mistake, but trust me the end result will be OK. Make your sauce. You will combine the vinegar, soy sauce, ketchup, sugar, garlic powder, and onion powder. Mix this well.

You can place your chicken in a clean cooking dish. I used my Pyrex casserole baking dish. Top it with your sauce and combine making sure the chicken is coated. You can add a pinch of sea salt to the top and put it in the oven.

You will bake this for 60 minutes, but you will want to stir your chicken every 15 minutes. Top your rice with the sweet n' sour chicken and you are done. Eat and Enjoy!